Learn to effectively track and analyze your Shopify store’s performance with this in-depth guide on adding Google Analytics to your eCommerce website.
Introduction
Integrating Google Analytics with your Shopify store is crucial for understanding your customers’ behavior, measuring your store’s performance, and optimizing your marketing strategies. In this comprehensive guide, we’ll walk you through the entire process of adding Google Analytics to your Shopify store and utilizing its powerful insights.

Creating a Google Analytics Account
To begin, you need to create a Google Analytics account. Follow these steps:
Visit the Google Analytics website
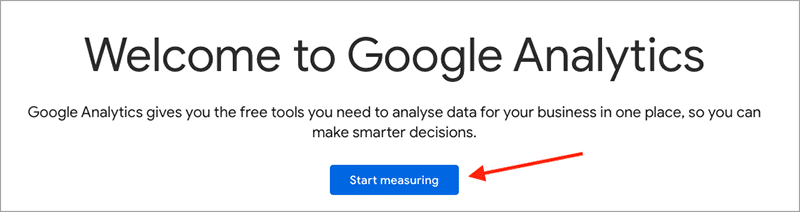
Click on “Start for free.”
Sign in using your Google account or create one if you don’t have one.
Click on “Start measuring.”
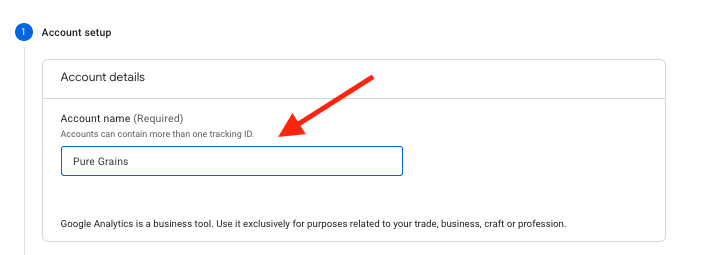
Enter your account name and click “Next.”
Choose “Web” as the platform you’d like to measure and click “Next.”
Fill in your website’s details (name, URL, industry, and time zone), then click “Create.”

Setting Up Google Analytics 4 (GA4) for Shopify
With the introduction of Google Analytics 4, it’s essential to set up a GA4 property alongside your Universal Analytics property. To do this, follow these steps:
Log in to your Google Analytics account.
Click on “Admin” in the bottom-left corner.
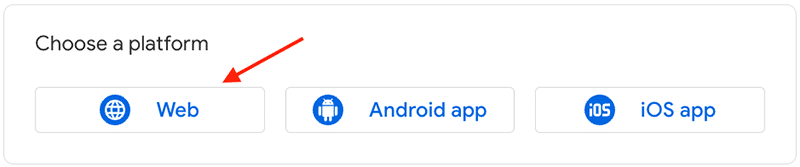
Under the “Property” column, click “Data Streams”
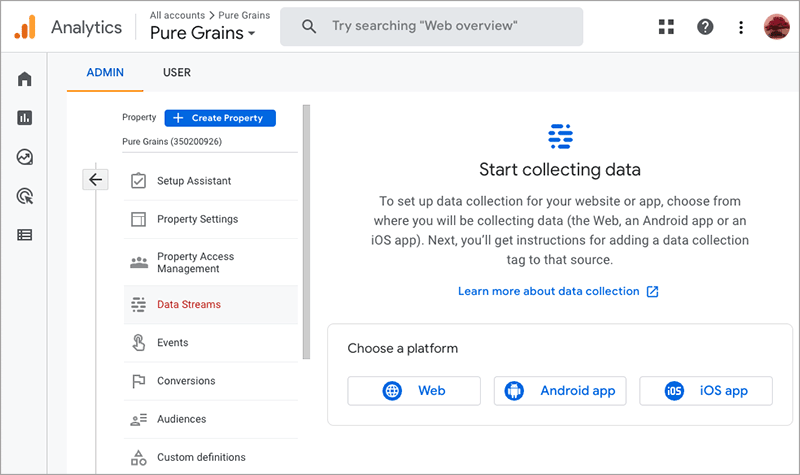
Go to the ‘Choose a platform‘ section, and click on the ‘Web‘ button.
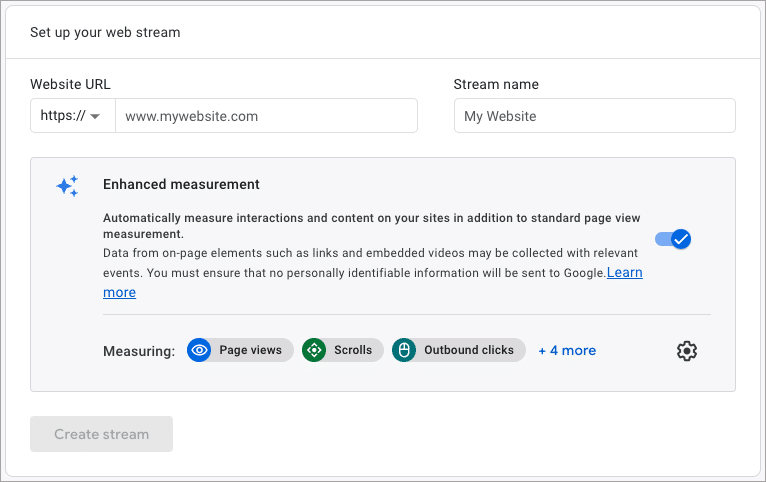
Fill in your website’s details and click “Create.”
You’ll now have a GA4 property with its own tracking code (beginning with “G-“).
Adding Google Analytics Tracking Code to Shopify
To connect GA4 to your Shopify store, follow these steps:
Log in to your Shopify admin panel.
Click on “Online Store,” then “Preferences.”
In the Google Analytics section, click Manage pixel here.
Click Connect your Google account.
Select the Measurement ID for the GA4 property you want to connect to your Shopify store.
Click Connect your Google Analytics 4 property.
Verifying Your Google Analytics Integration
To ensure your Google Analytics integration is successful, follow these steps:
Visit your Shopify store in a new browser tab or window.
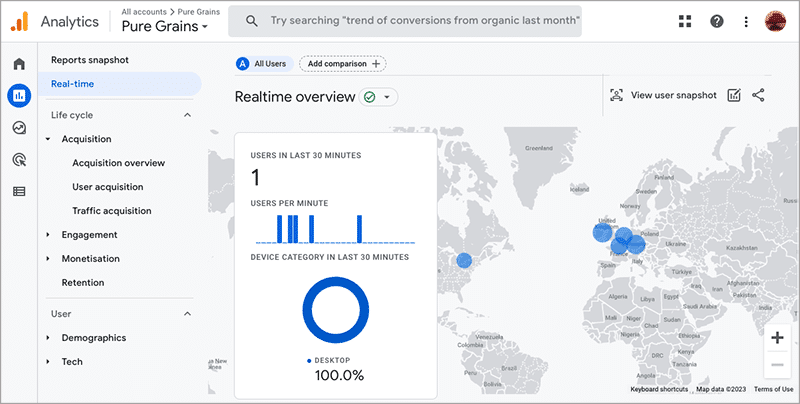
In your Google Analytics account, navigate to “Real-time” in the left sidebar.
Click on “Overview” or “Users” to see real-time user data.
If you see active users on your website, the integration is successful.
Optimizing Your Store with Data Insights
Leverage the data from Google Analytics to optimize your Shopify store:
- Analyze traffic sources: Identify your most valuable traffic sources and focus your marketing efforts on them.
- Monitor user behavior: Study customer behavior to improve your website’s usability and user experience.
- Evaluate product performance: Identify top-selling and underperforming products to make informed inventory decisions.
- Optimize conversion rates: Analyze the conversion funnel to identify drop-off points and improve the checkout process.
- Track marketing campaigns: Measure the effectiveness of your marketing campaigns and allocate your budget accordingly.
Conclusion
Integrating Google Analytics with your Shopify store is an essential step in tracking, analyzing, and optimizing your eCommerce website’s performance. By following this guide, you’ll have a thorough understanding of setting up Google Analytics, enabling Enhanced eCommerce tracking, and utilizing data insights to make data-driven decisions for your online store.
FAQs
-
How do I add Google Analytics to my Shopify store?
To add Google Analytics to your Shopify store, you need to create a Google Analytics account, set up a GA4 property, enable Enhanced eCommerce tracking, and paste the tracking codes into your Shopify admin panel. Follow the steps outlined in our comprehensive guide for more details.
-
What are the benefits of integrating Google Analytics with my Shopify store?
Integrating Google Analytics with your Shopify store allows you to monitor user behavior, analyze traffic sources, evaluate product performance, optimize conversion rates, and track marketing campaigns. By understanding and utilizing this data, you can optimize your website and make data-driven decisions for your online store.
-
How can I enable Enhanced eCommerce tracking in Google Analytics?
To enable Enhanced eCommerce tracking, log in to your Google Analytics account, click “Admin,” and under the “View” column, click “Ecommerce Settings.” Toggle “Enable Ecommerce” to “ON” and “Enable Enhanced Ecommerce Reporting” to “ON.” Then, click “Save.”
-
How do I verify that my Google Analytics integration with Shopify is successful?
To verify the integration, visit your Shopify store in a new browser tab or window, and in your Google Analytics account, navigate to “Real-time” in the left sidebar. Click on “Overview” or “Users” to see real-time user data. If you see active users on your website, the integration is successful.
-
How can I use Google Analytics data to optimize my Shopify store?
Utilize Google Analytics data to analyze traffic sources, monitor user behavior, evaluate product performance, optimize conversion rates, and track marketing campaigns. By understanding these insights, you can make informed decisions and improvements to your online store.